Title here
Summary here
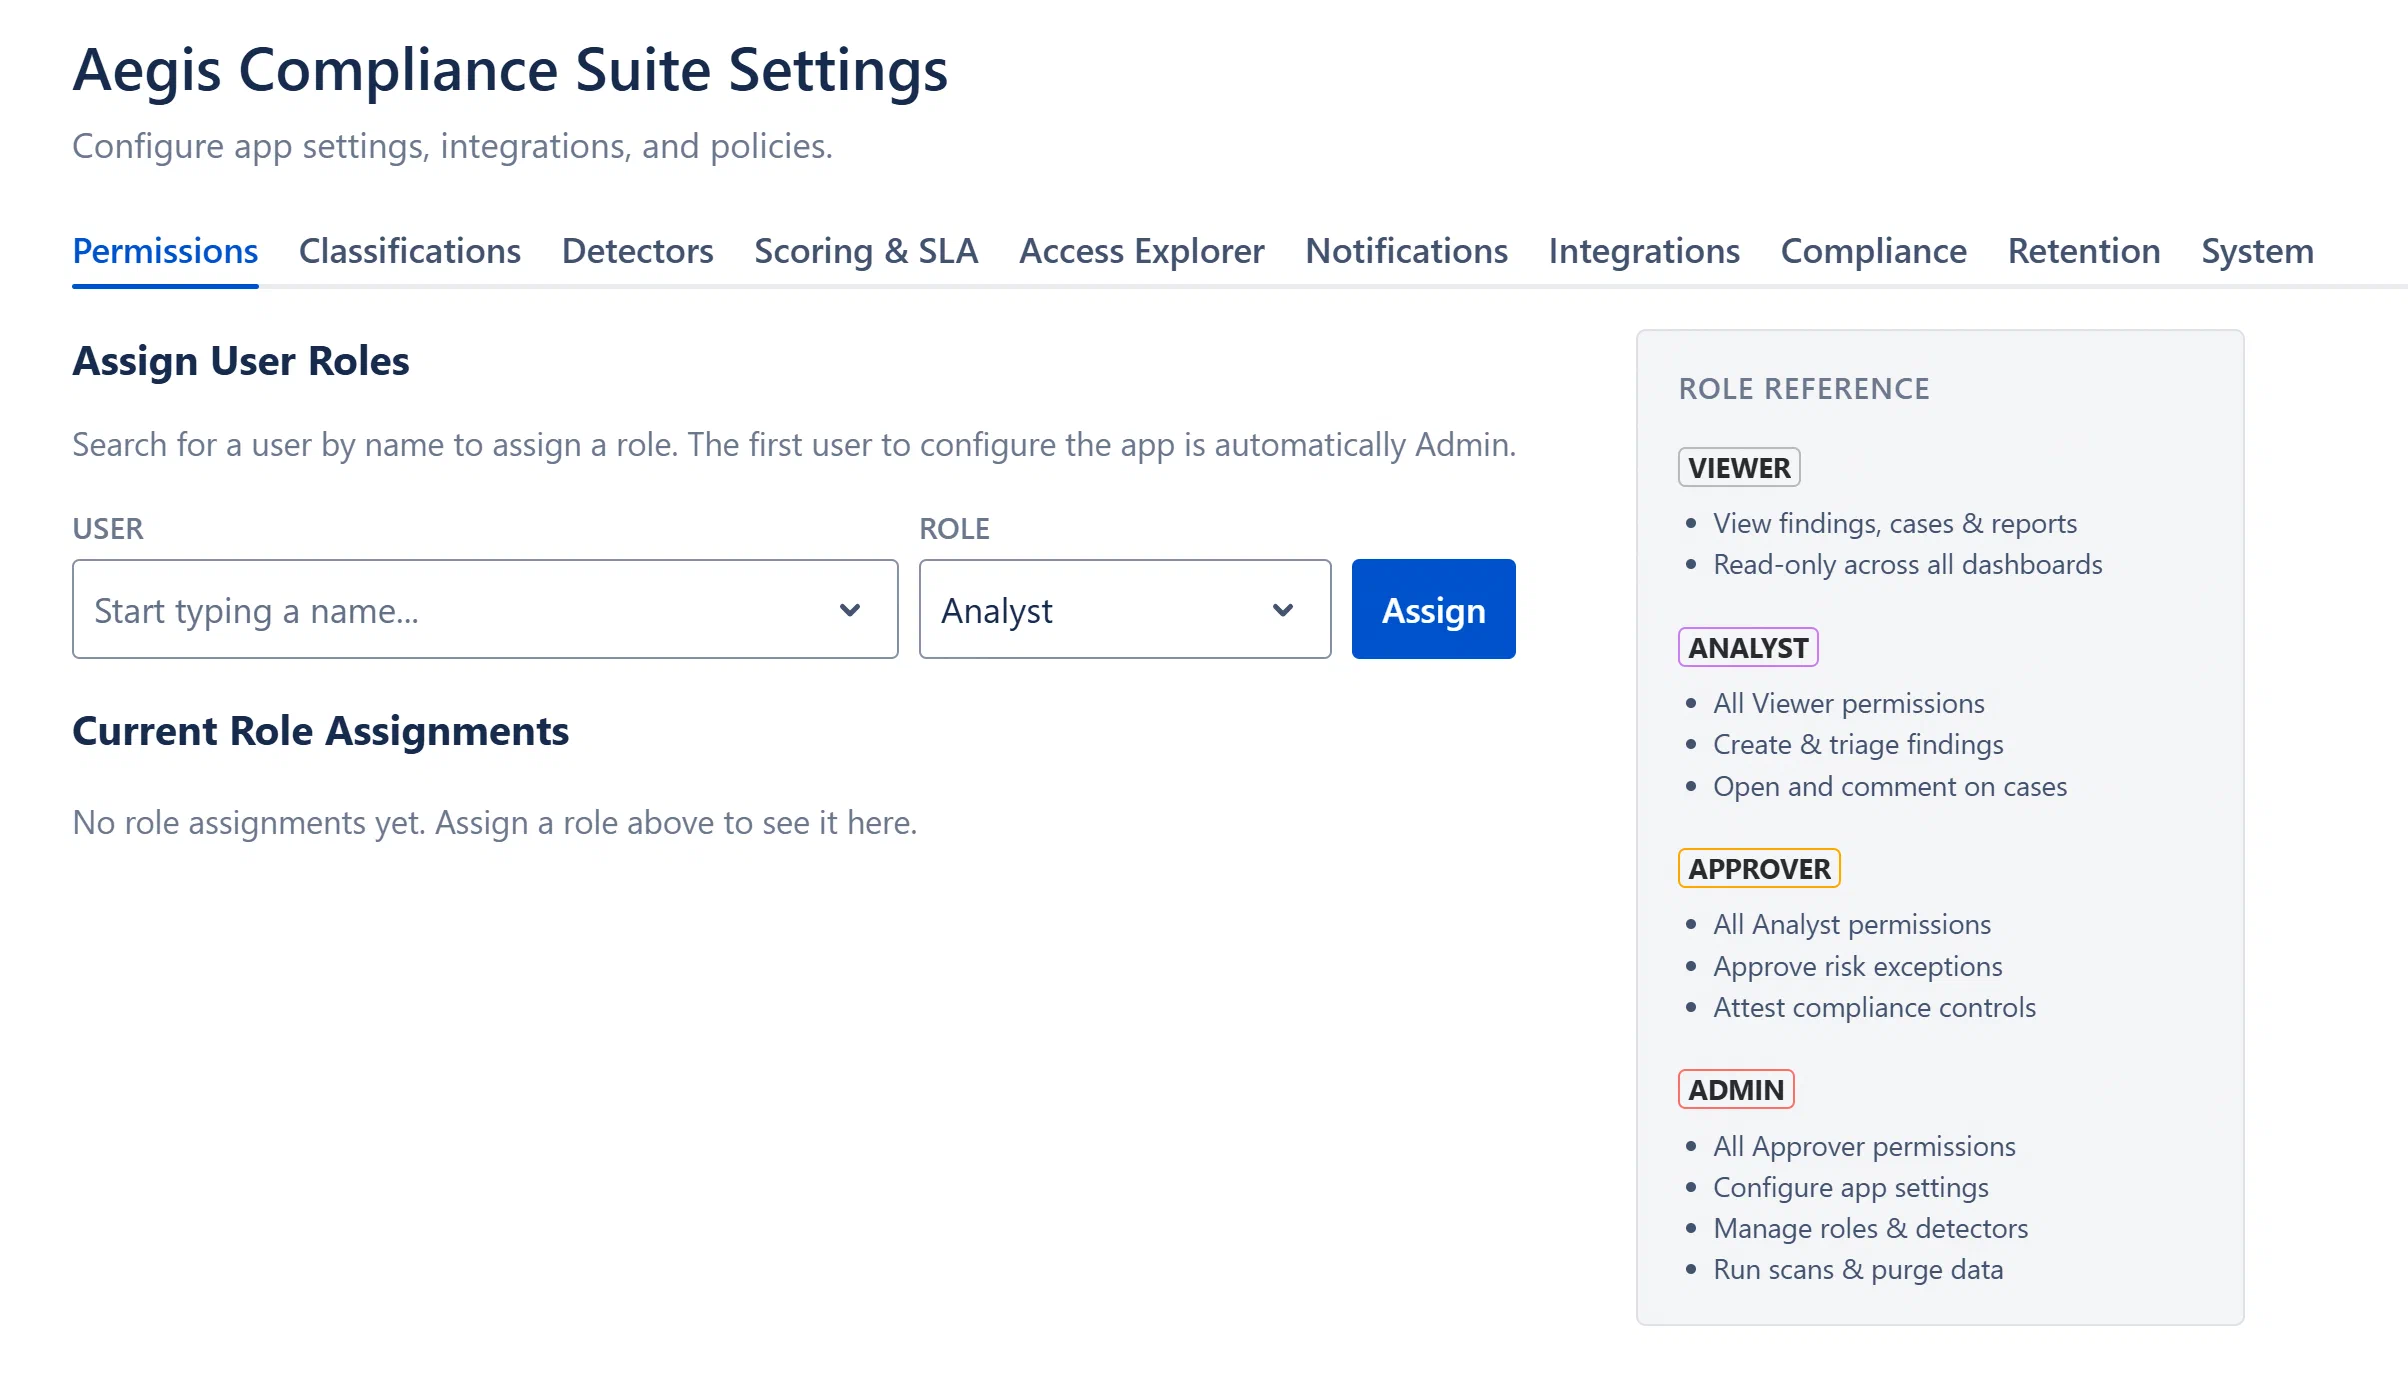
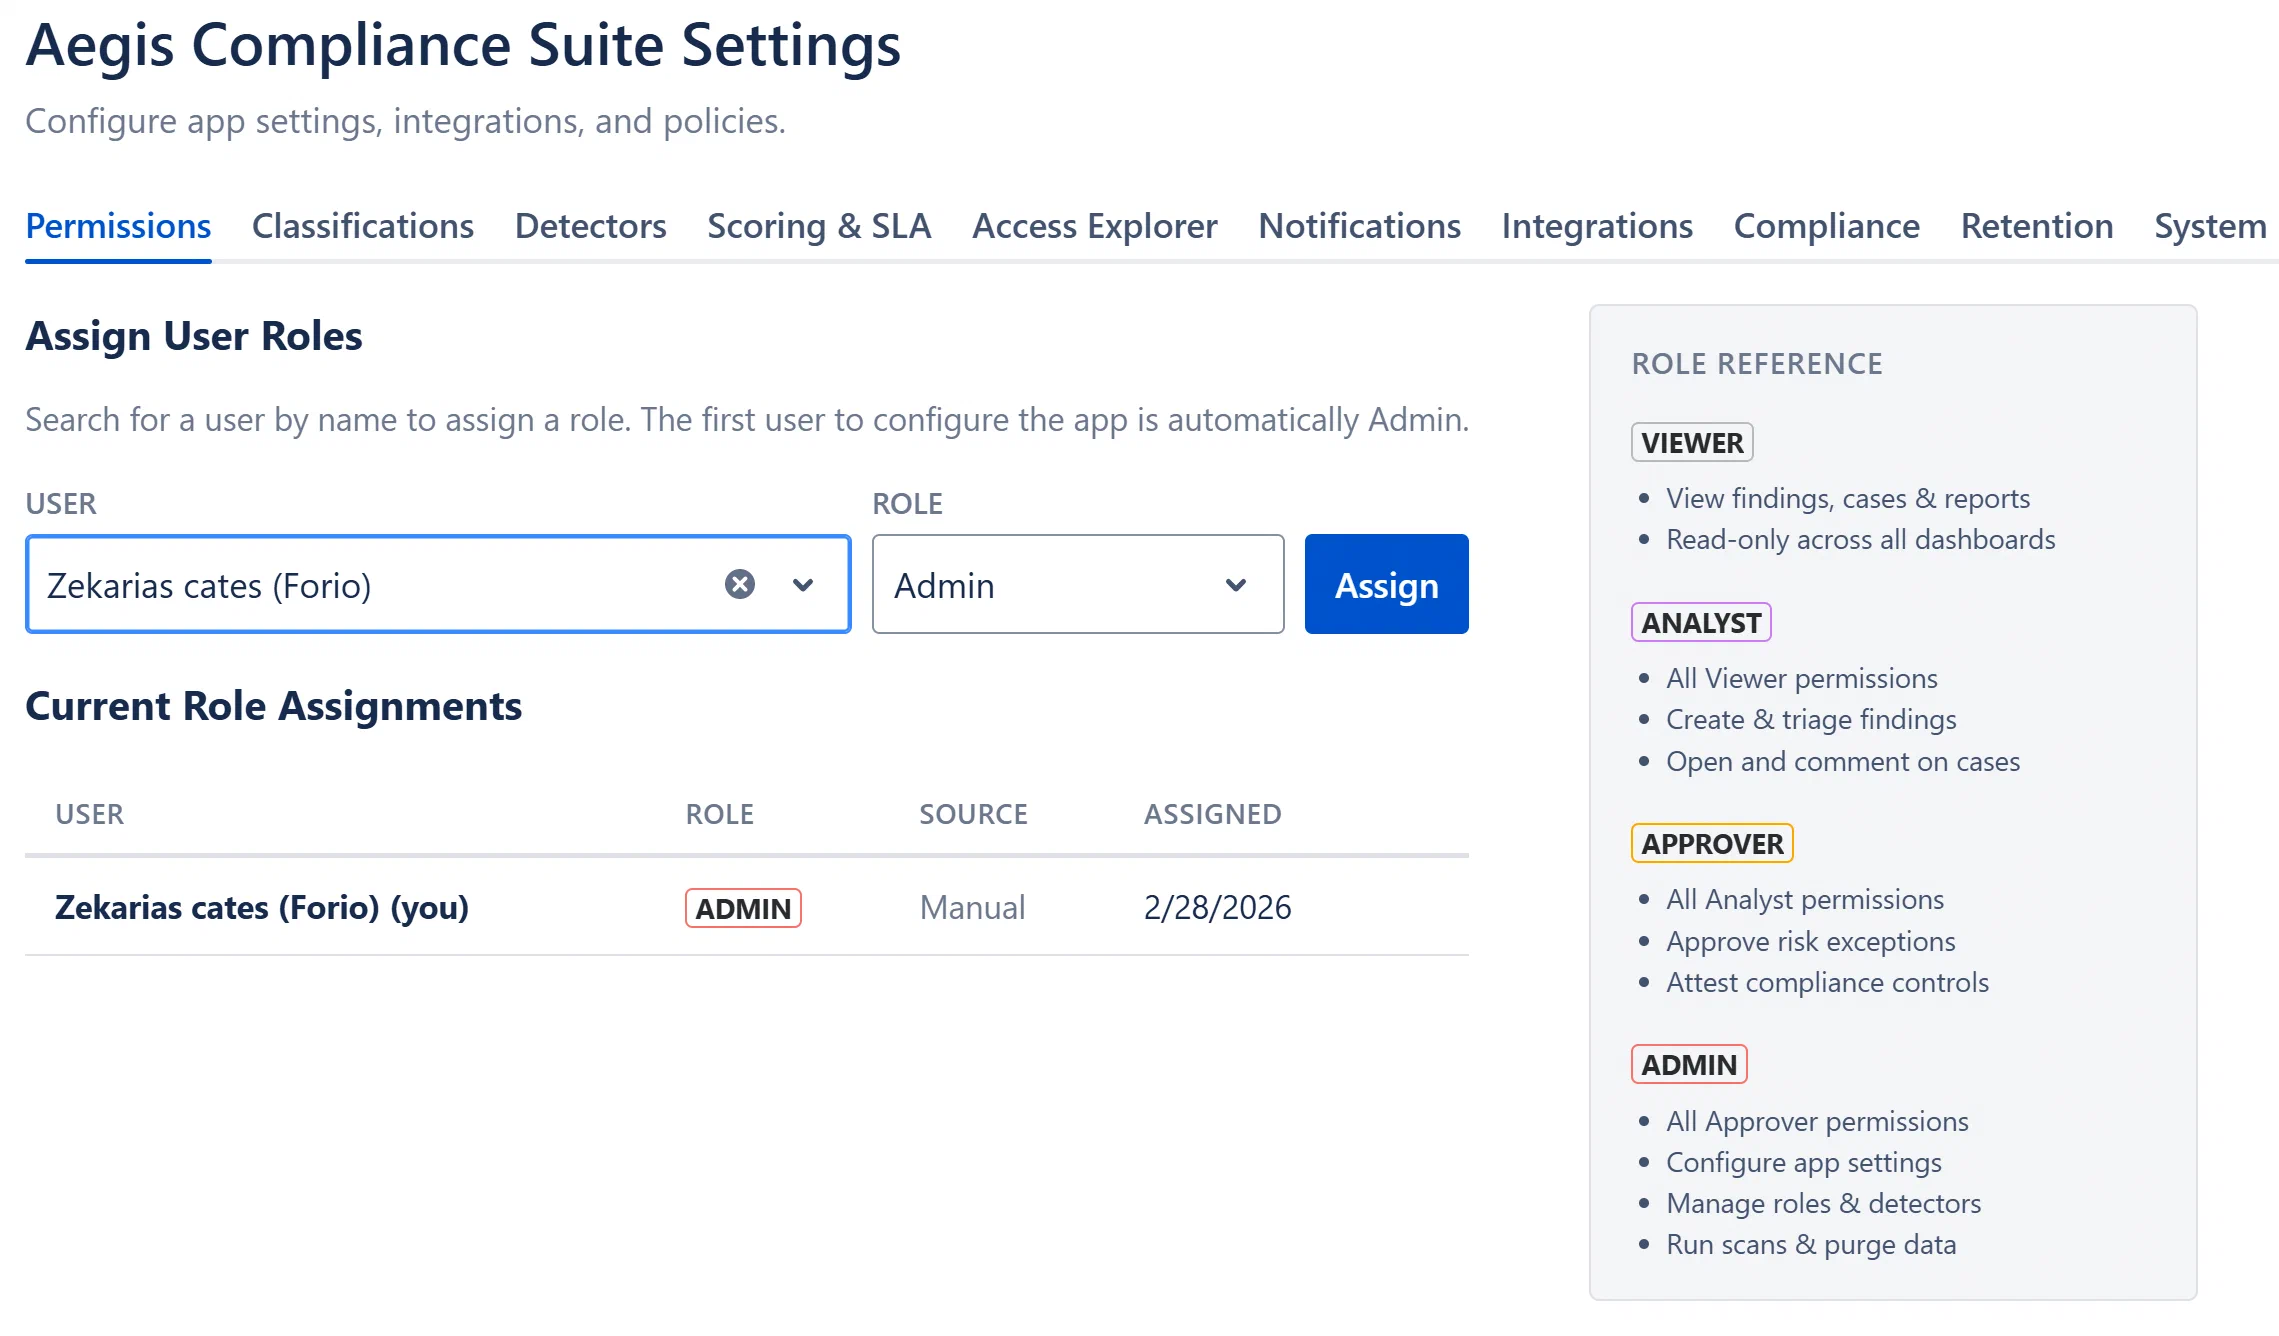
Note: The user who installs the app is automatically assigned the Admin role.
Follow these steps in order to configure Aegis properly for your organization. Steps 1–3 are essential for basic operation; step 4 sets up alert rules.
By default, all users except the initial Admin are assigned the Viewer role and cannot create or edit anything. You must assign Analyst, Approver, or Admin roles before team members can take action.
Aegis ships with 200+ pre-built regex detectors sourced from the gitleaks ruleset. Only 4 are enabled by default (AWS Access Key, Credit Card, SSN, Private Key). Before running your first scan, review which detectors match your organization’s risk profile.
Note: Generic patterns like
generic-api-key,generic-secret, andpassword-in-textare intentionally off by default to reduce false-positive noise. Enable them only if your environment uses consistent naming conventions that these patterns can match reliably.
Warning: Scans are always manually triggered. There is no scheduled automatic content scan, this is an intentional design decision to give your team full control over when scanning occurs. The hourly permission scan (for exposure scoring) runs automatically; only the content scan requires manual initiation.
Alert rules notify your team when important events occur.
You should create at minimum:
critical_finding (fires when any critical finding is created).sla_breach (fires when a case’s deadline is breached).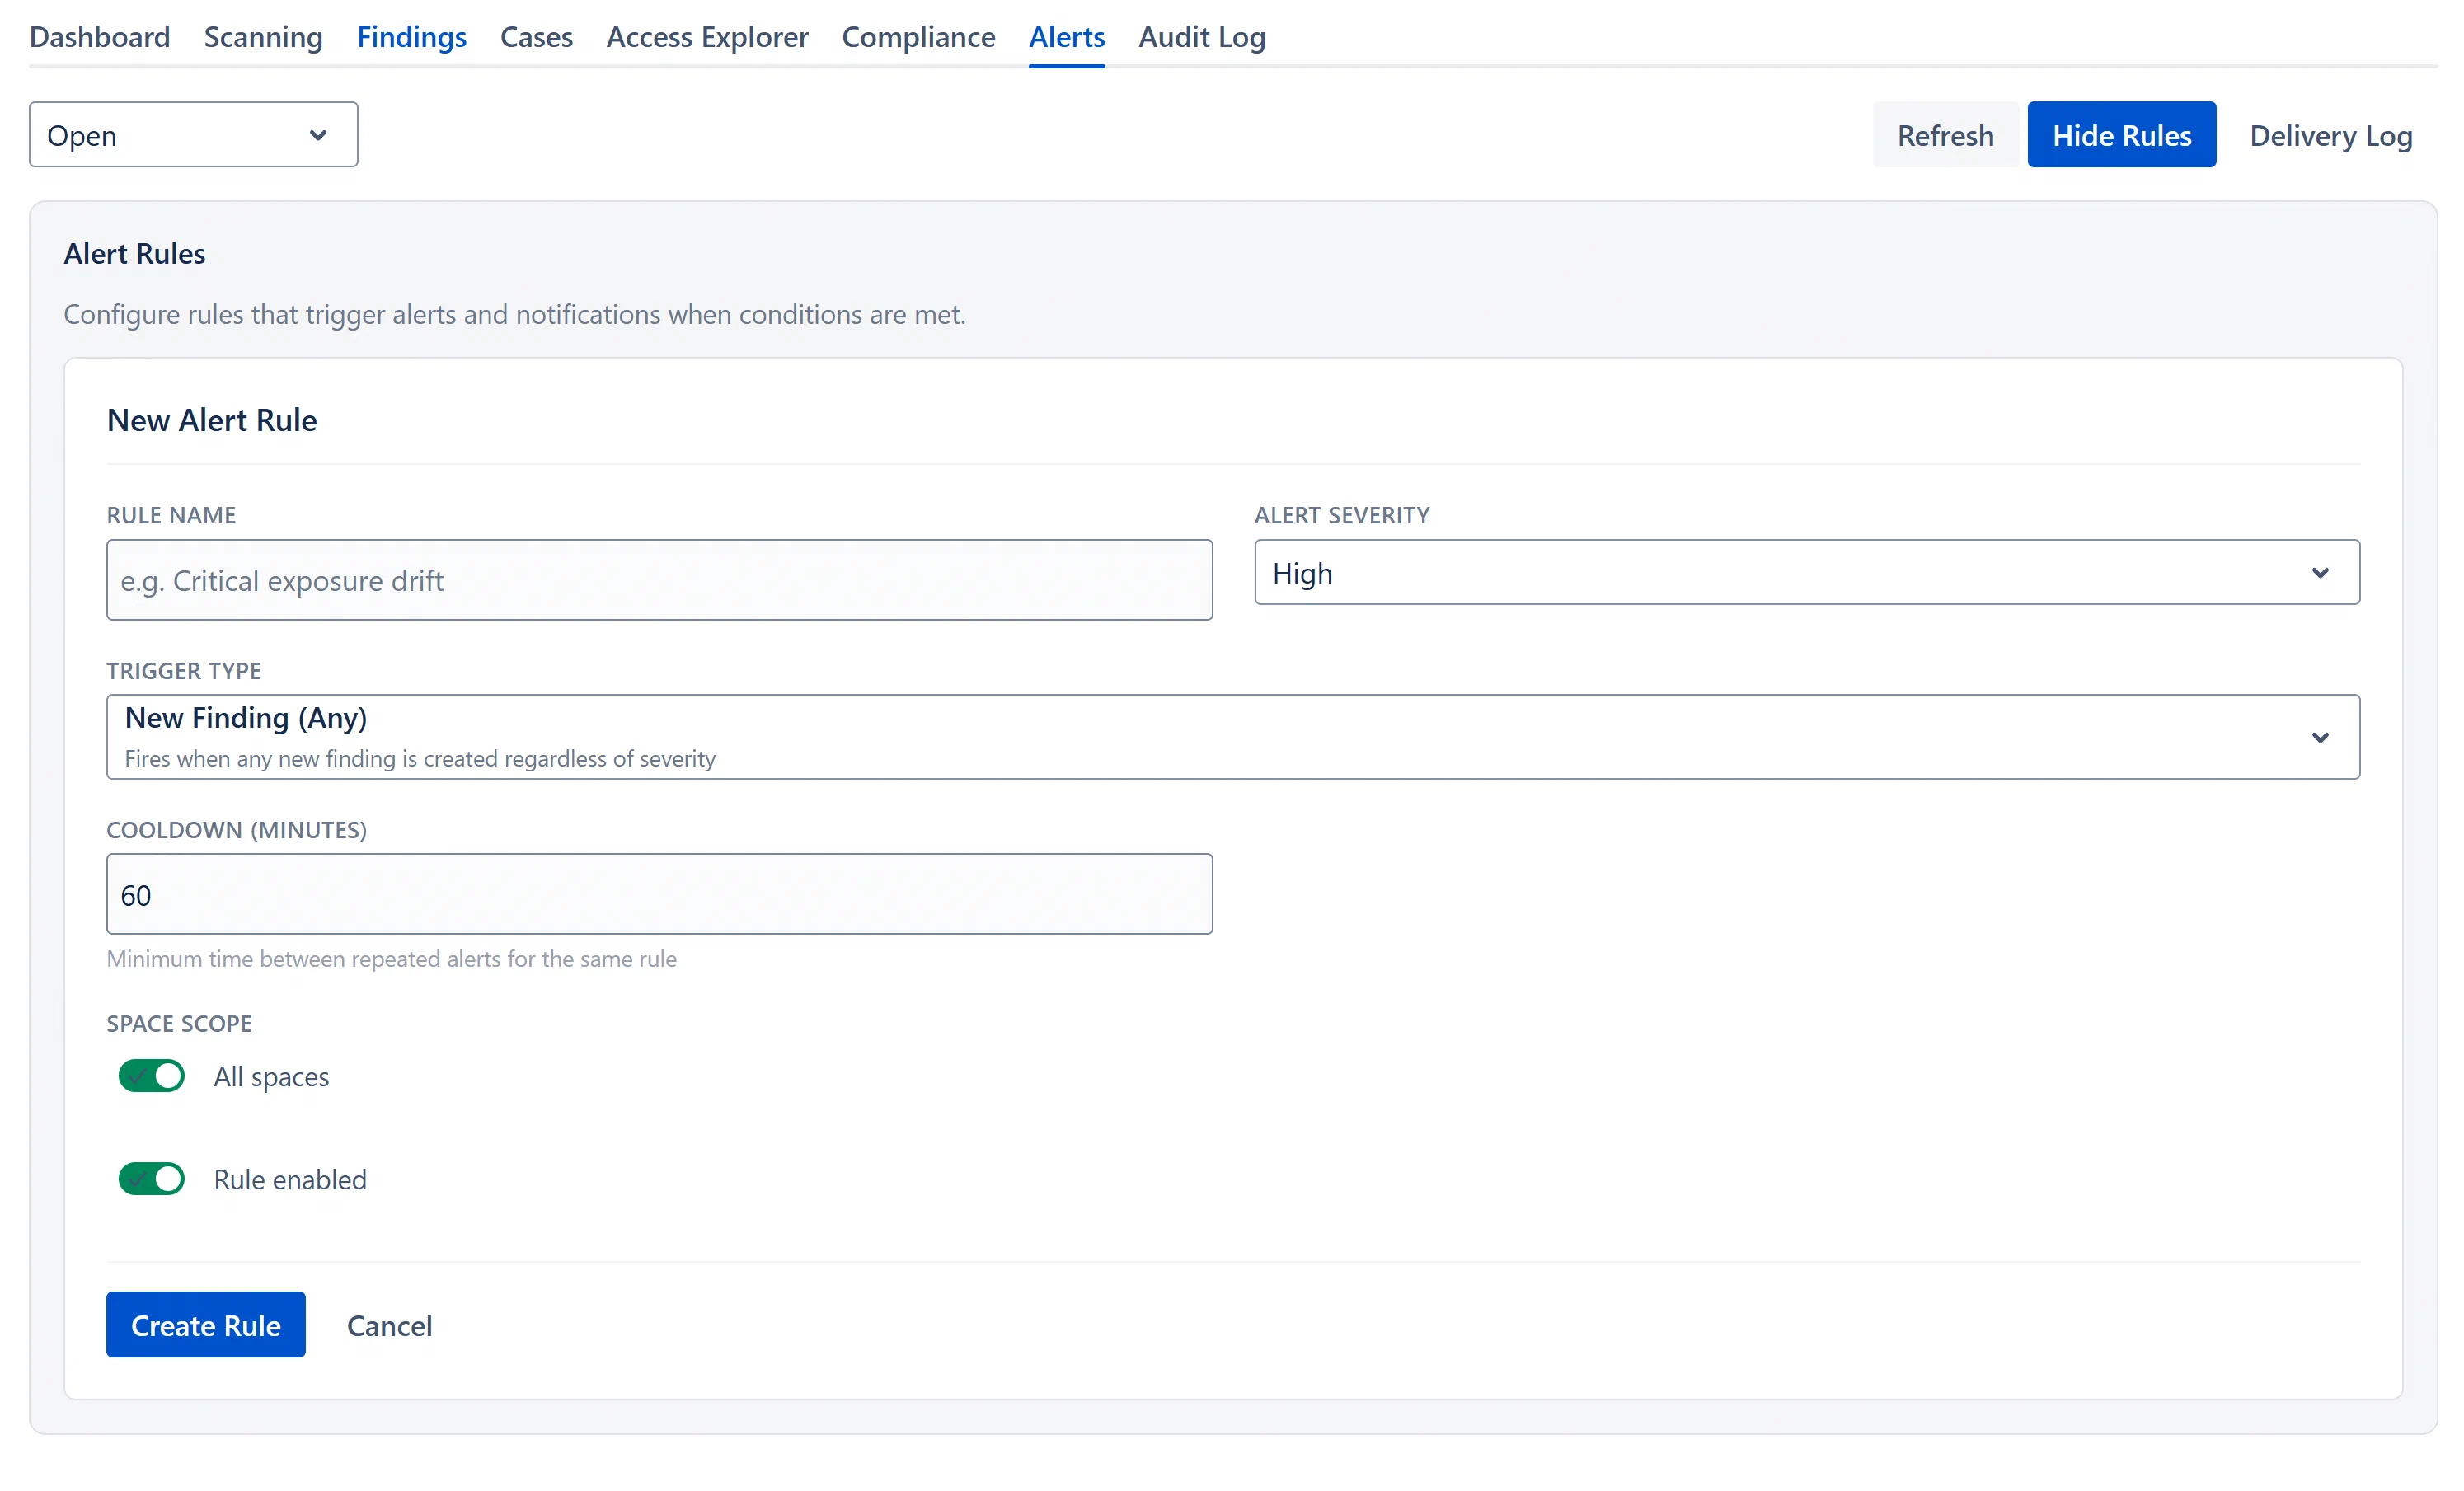
| Entry Point | Navigation Path |
|---|---|
| Main Dashboard | Confluence top nav → Apps → Aegis Compliance Suite |
| Admin Settings | Confluence gear icon → Settings → Aegis Compliance Suite Settings |
| From a page byline | Click the exposure score badge on any Confluence page → opens the byline panel |
| Report a finding | Click “…” on any Confluence page → “Report Security Finding” |
The dashboard opens to the tab you were last viewing (your tab position is saved in browser session storage and restored across page refreshes within the same browser session).
Aegis uses a four-tier hierarchical role model. Higher roles inherit all permissions of lower roles.
| Permission | Viewer | Analyst | Approver | Admin |
|---|---|---|---|---|
| View findings, cases, audit logs | Yes | Yes | Yes | Yes |
| View exposure scores and access summaries | Yes | Yes | Yes | Yes |
| View alert rules and notification history | Yes | Yes | Yes | Yes |
| Create and edit findings | No | Yes | Yes | Yes |
| Import findings via CSV | No | Yes | Yes | Yes |
| Create and update cases | No | Yes | Yes | Yes |
| Assign cases to users | No | Yes | Yes | Yes |
| Change finding / case status | No | Yes | Yes | Yes |
| Create risk exception requests | No | Yes | Yes | Yes |
| Expand group members in Access Explorer | No | Yes | Yes | Yes |
| Acknowledge alerts | No | Yes | Yes | Yes |
| Create Jira tickets from findings/cases | No | Yes | Yes | Yes |
| Approve risk exceptions | No | No | Yes | Yes |
| Revoke exceptions | No | No | No | Yes |
| Assign roles to users | No | No | No | Yes |
| Configure detectors, alert rules, SLA policy | No | No | No | Yes |
| Configure notification channels | No | No | No | Yes |
| Configure Jira integration | No | No | No | Yes |
| Configure retention policy | No | No | No | Yes |
| Run retention purge manually | No | No | No | Yes |
| Rebuild entity count cache | No | No | No | Yes |
| Trigger content scan | No | No | No | Yes |
Note: Role checks are enforced server-side on every resolver call. It is not possible to bypass role restrictions by modifying the frontend.
Scenario: You want to give Alice the Analyst role and Bob the Approver role.
Note: If you cannot see the Permissions tab, you do not have the Admin role. Contact whoever first opened the app after installation, they are the initial Admin.