To assign to yourself: You can set yourself as assignee when creating a new case (see Section 6.11), or open the case detail and use the Reassign picker to search for your own name.
To assign to a team member:
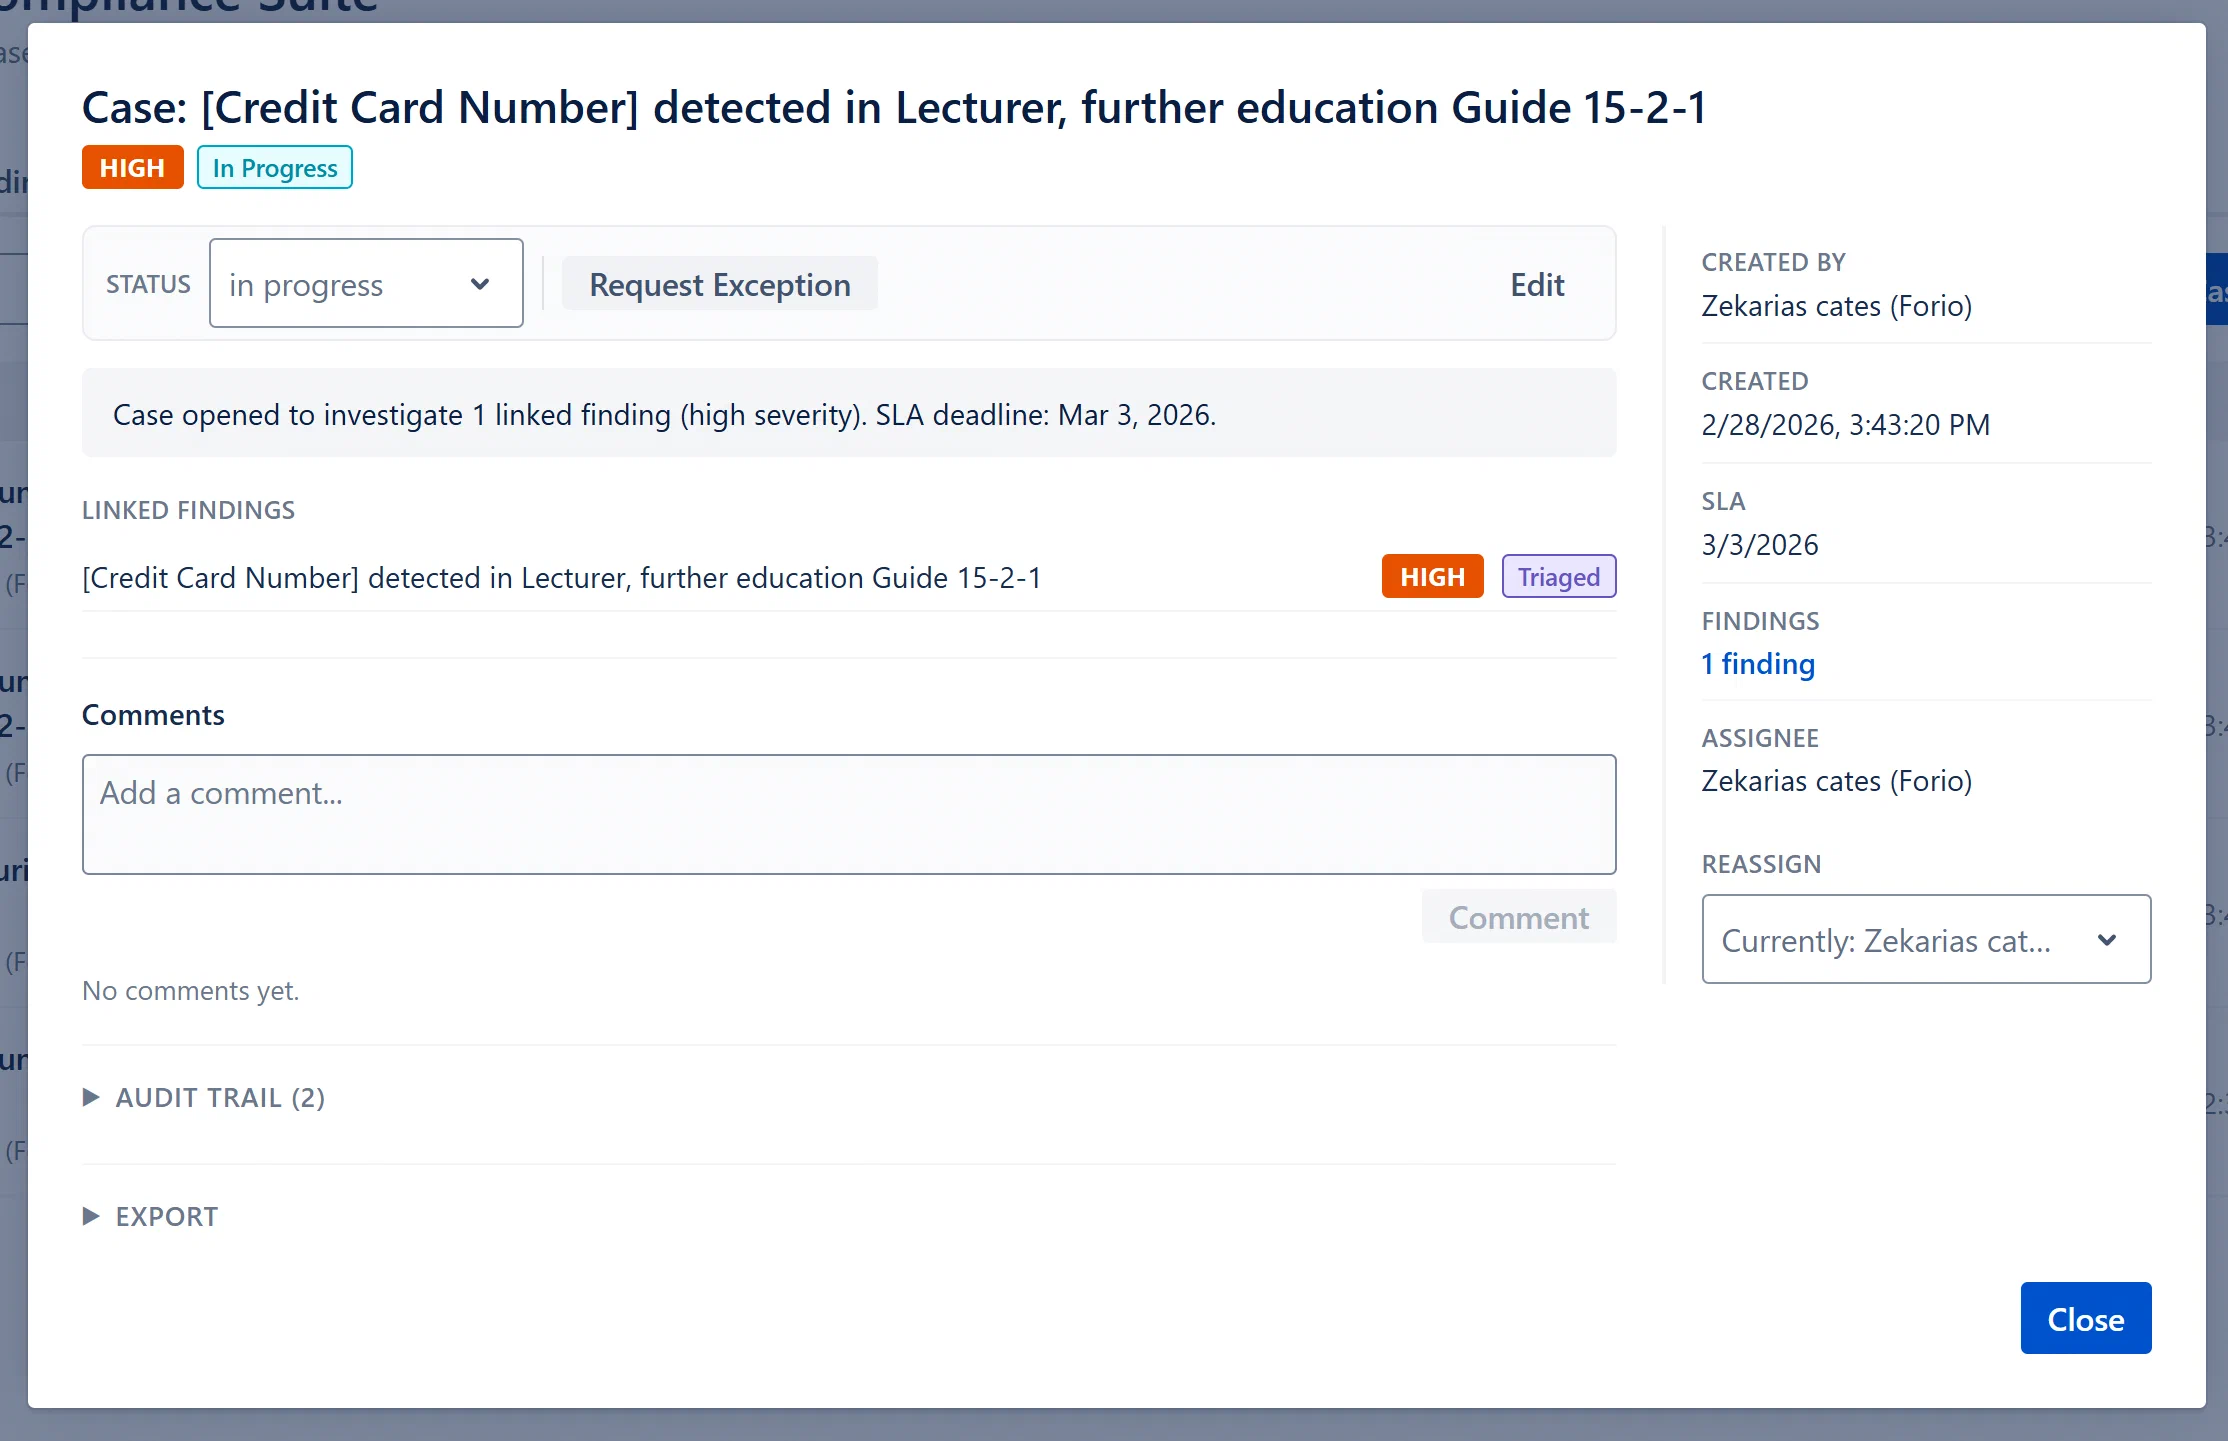
Open the case detail modal
In the right sidebar, locate the “Reassign” label and the search Select below it
Type at least 2 characters of the person’s display name
Select them from the dropdown that appears
The assignment is saved immediately (no Save button needed)
An case_assigned evidence event is written to the audit trail
A notification is sent to the newly assigned user via the Case Activity channel
Note: The assignee search queries Confluence users directly. The user must exist in your Confluence instance. If no results appear, try a different part of the name.
The Comments section appears in the main column of the Case Detail modal. All users with any role can view comments. Analysts and above can add comments.
Scroll to the Comments section in the case detail
Type your comment in the text area
Click Add Comment
The comment appears immediately in the thread with your name and timestamp
Comments are stored as immutable records and cannot be deleted or edited after posting. They are included in all evidence export formats (JSON, HTML). Each comment is a thread entry visible to all users who open the case.