Title here
Summary here
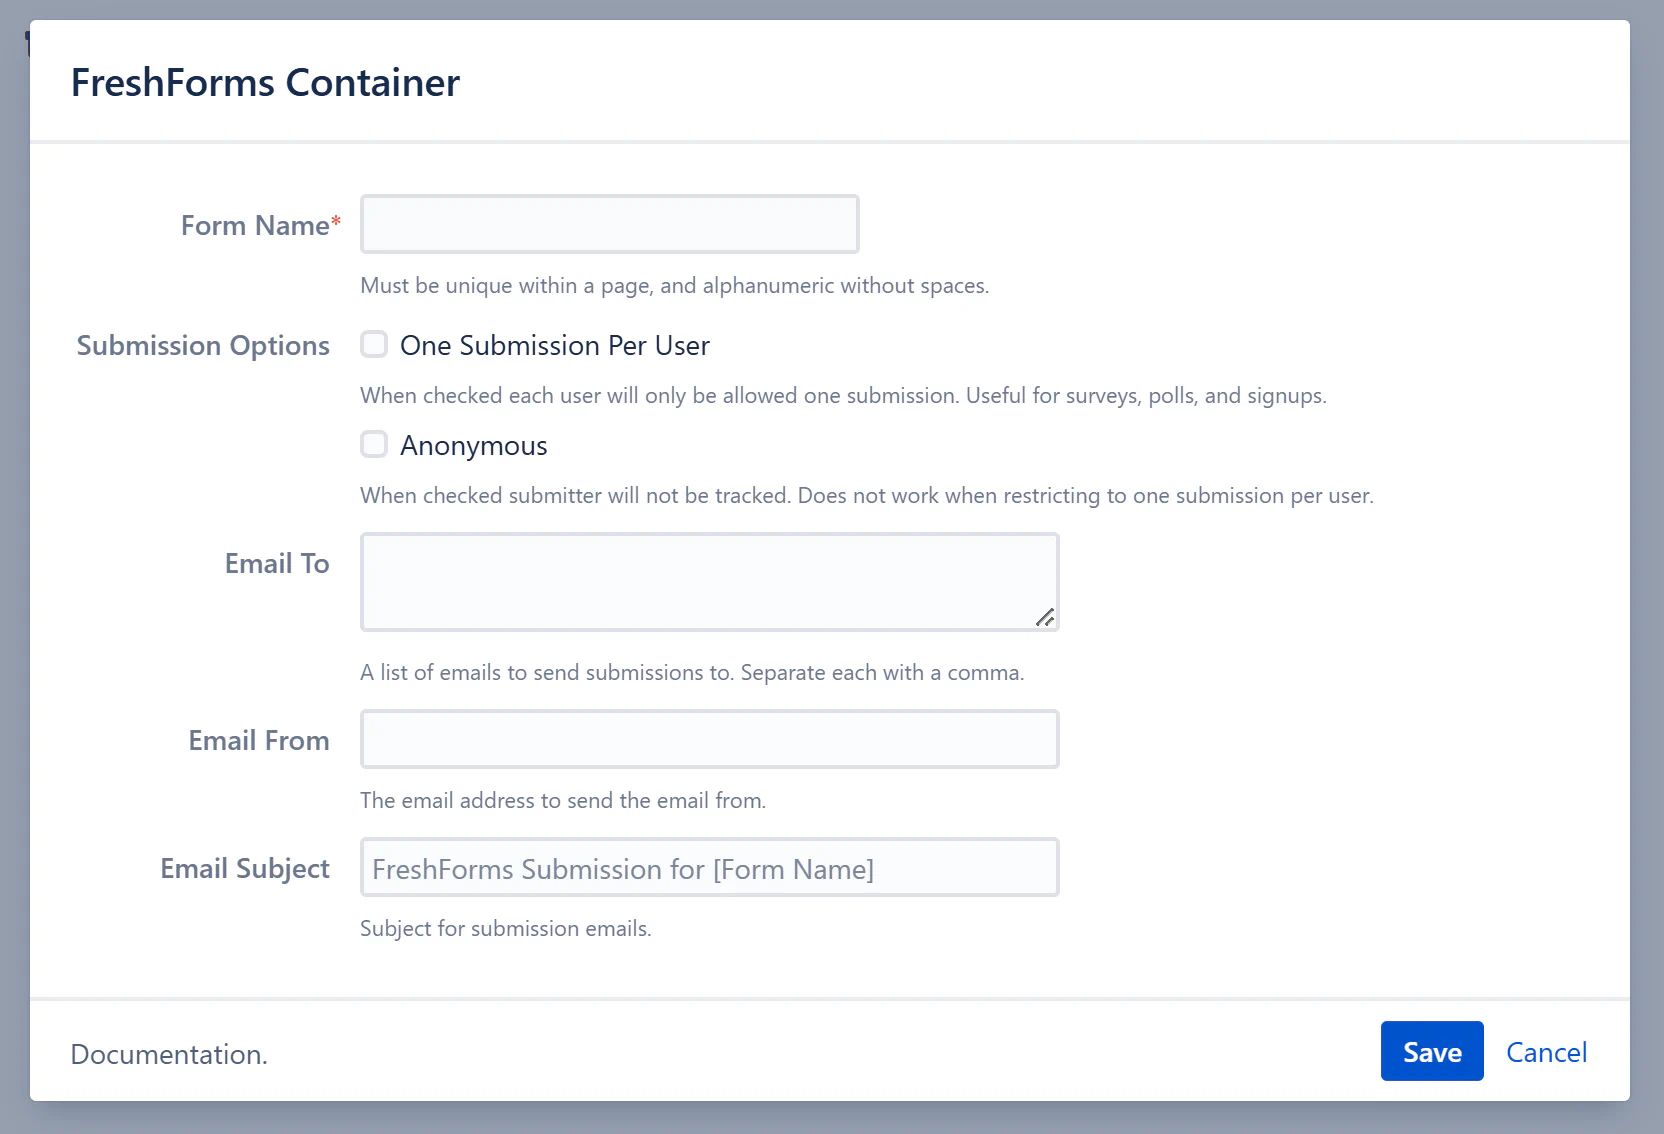
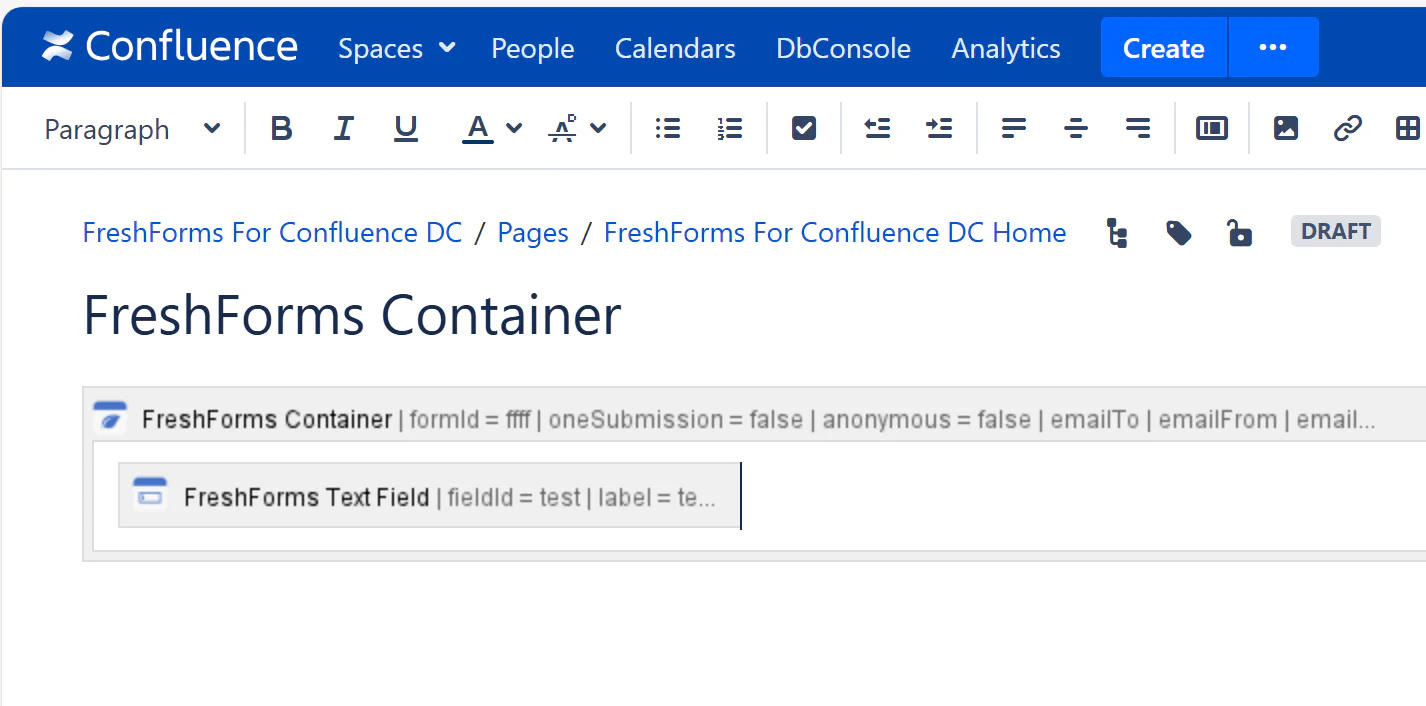
The foundation of every FreshForms setup. This macro acts as the wrapper that contains all field elements.
Why it’s useful: Keeps your form organized in one place, making it easier to manage, style, and display results.
This will insert a FreshForms container where you can configure your form settings.

Required. A unique identifier for your form on the page. Must be alphanumeric (letters and numbers only) and cannot contain spaces or special characters.
Example: LeaveRequestForm or Feedback2025
Note: These cannot be used together.
Enter the email address(es) to which form submissions should be sent. To send notifications to multiple recipients, separate each email address with a comma.
Example: admin@yourcompany.com, hr@yourcompany.com
Specify the sender email address that should appear in the email. This helps identify where the submission came from and improves deliverability.
Note: Ensure this email address is allowed by your mail server or domain.
Set a subject line for the email notification sent when someone submits the form. This helps recipients quickly identify what the email is about.
Example: New PTO Request Submission or Incident Report Received