Title here
Summary here
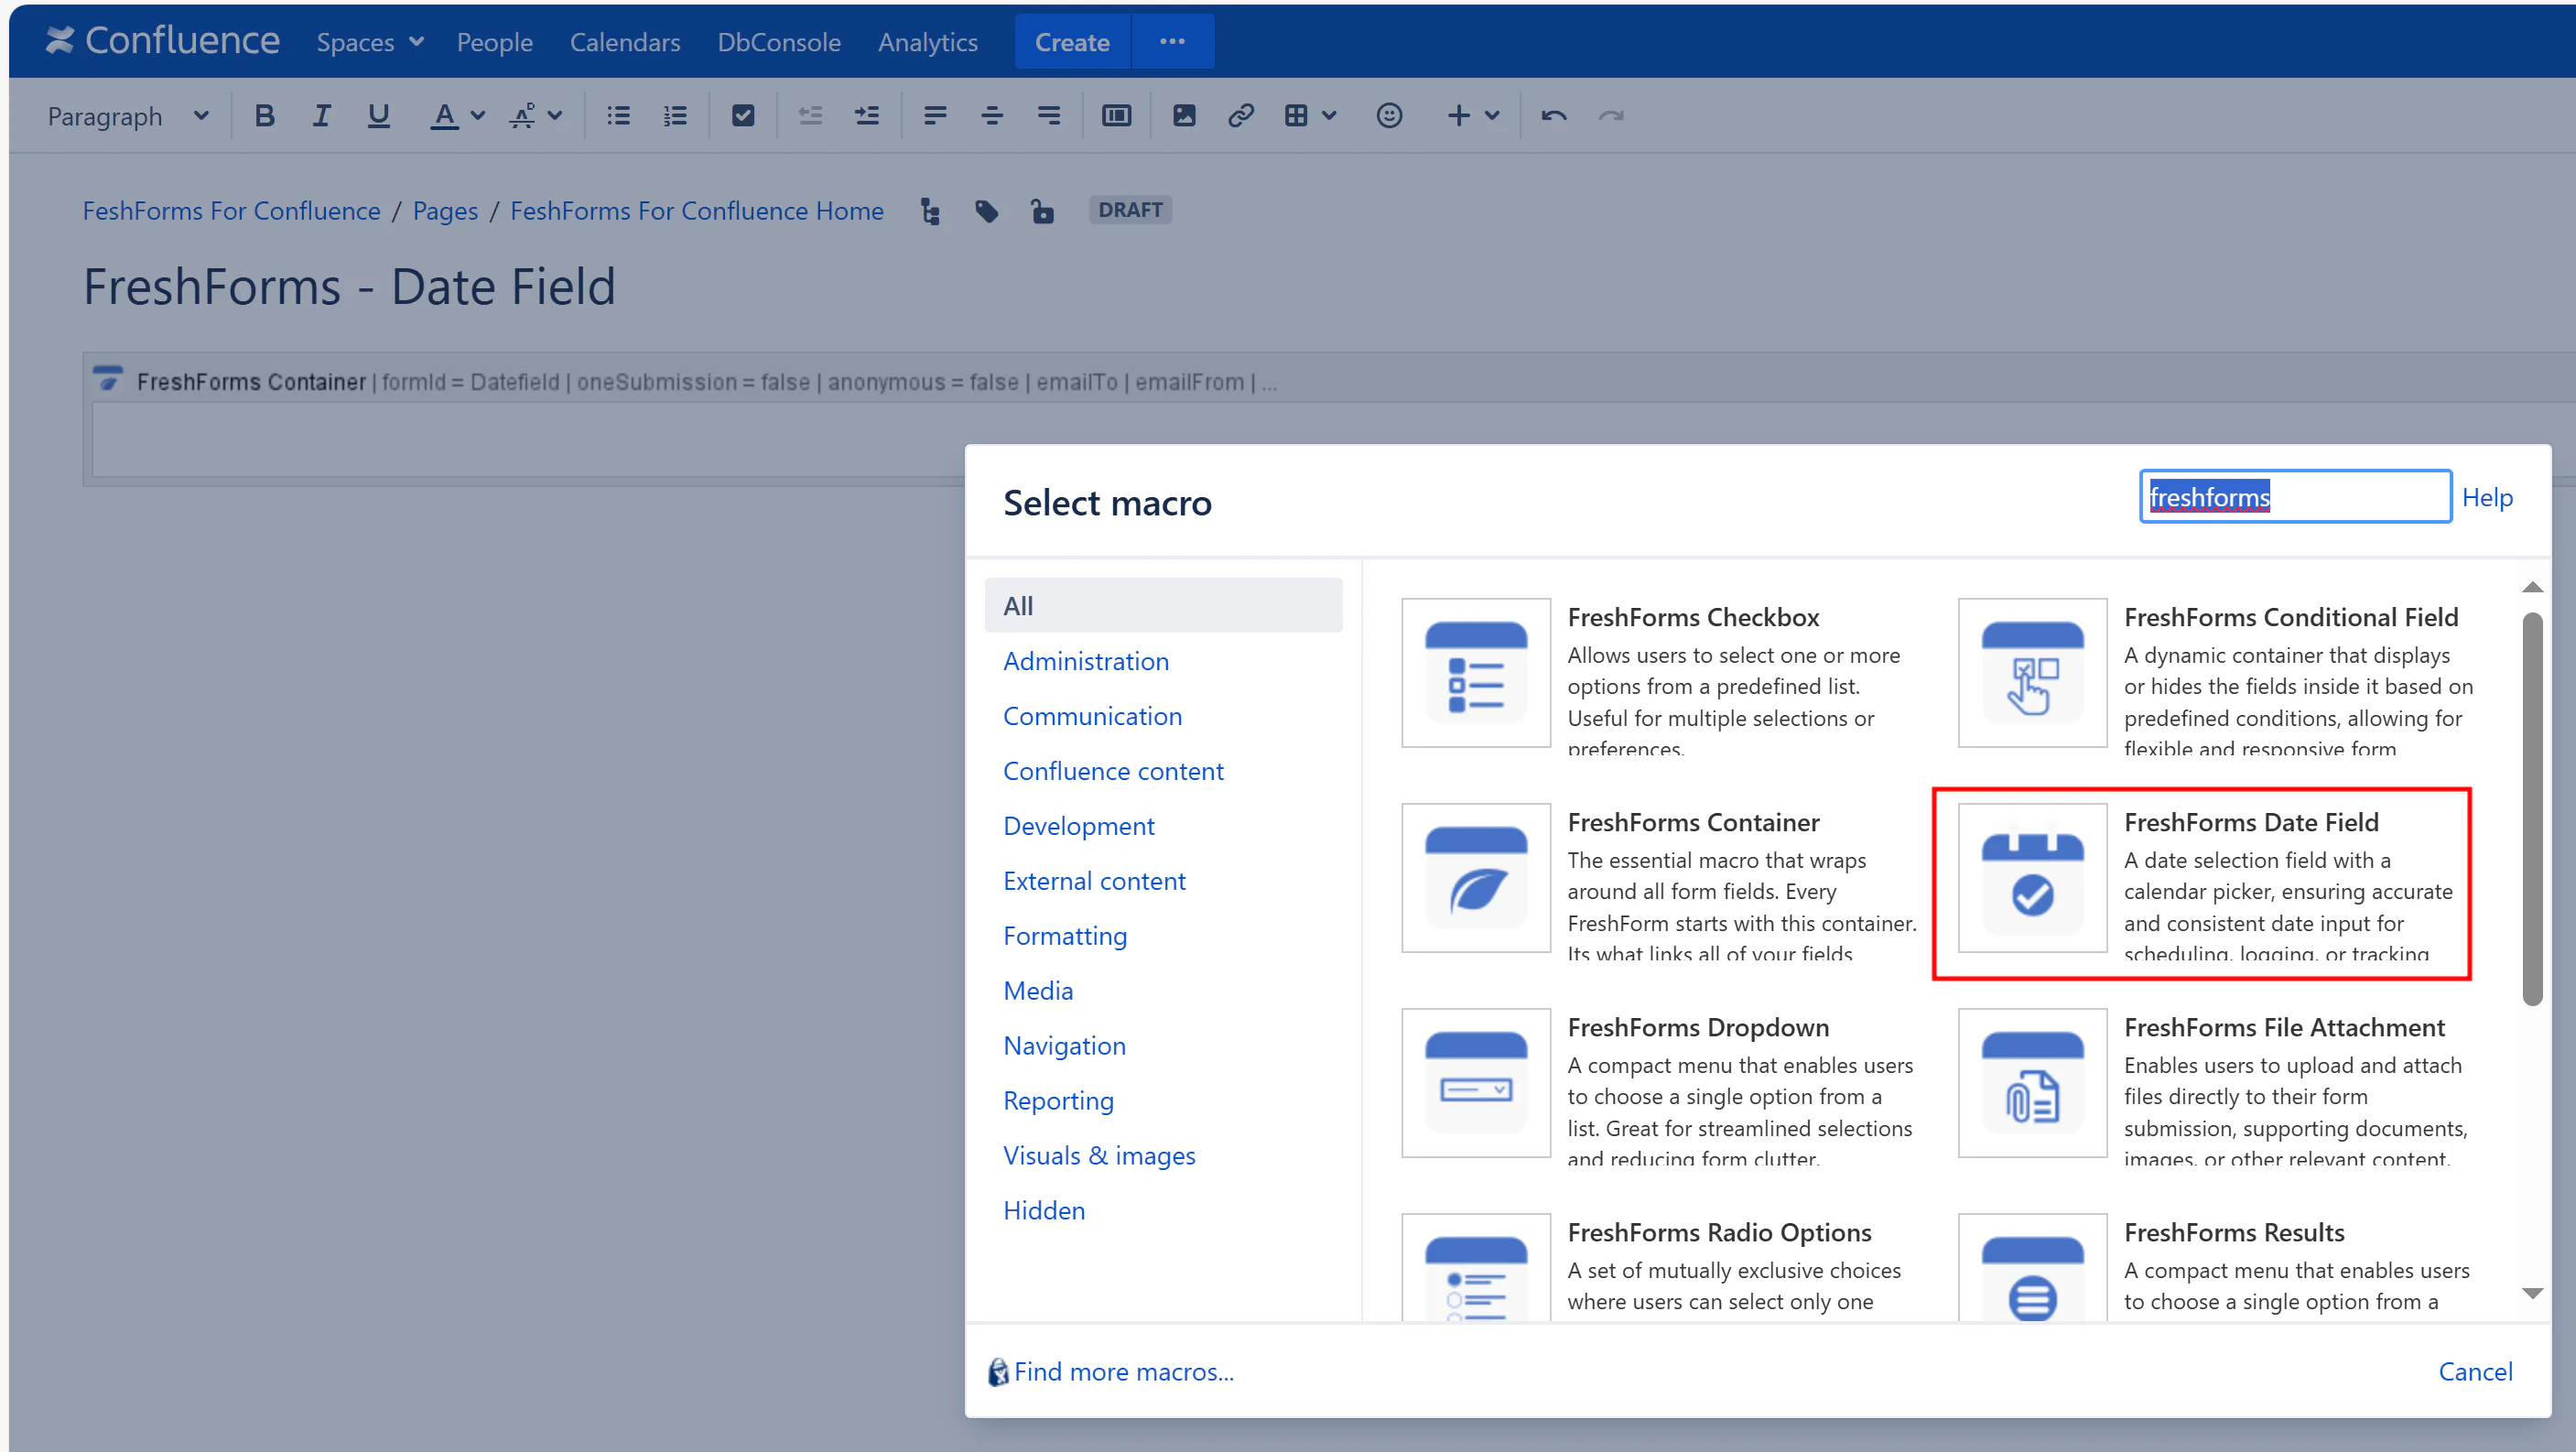
The Date Field adds structure and accuracy to form submissions. By using a consistent date format, it eliminates ambiguity and simplifies downstream automation, filtering, and reporting.
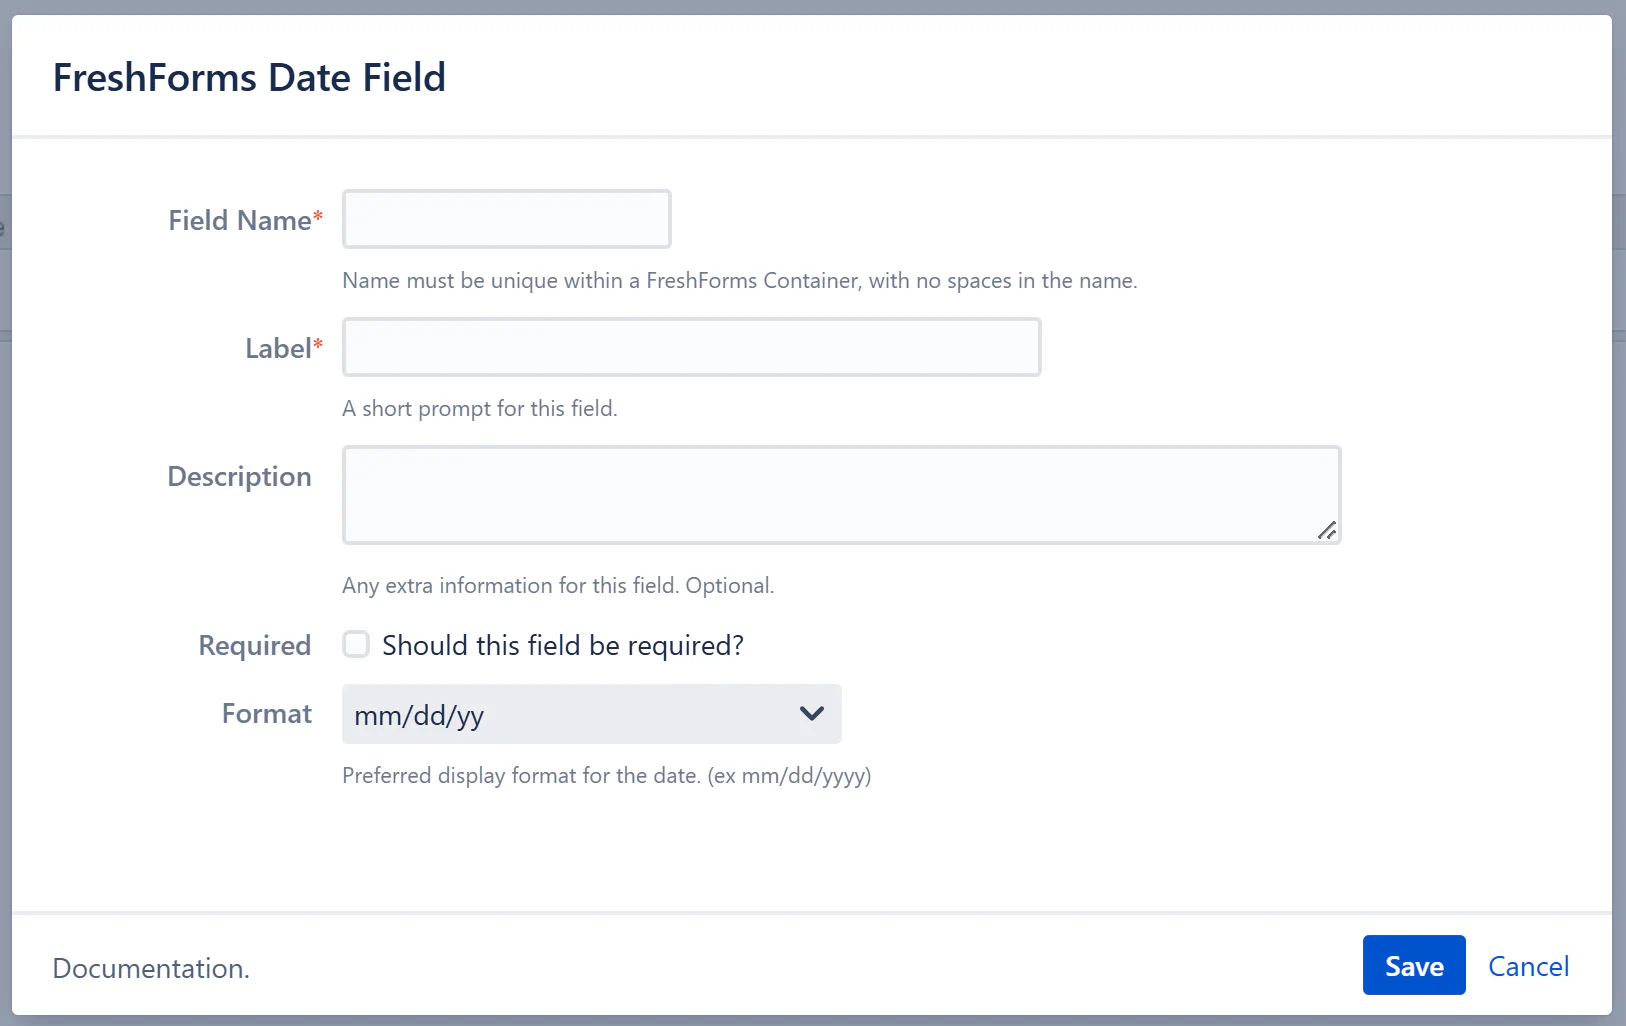
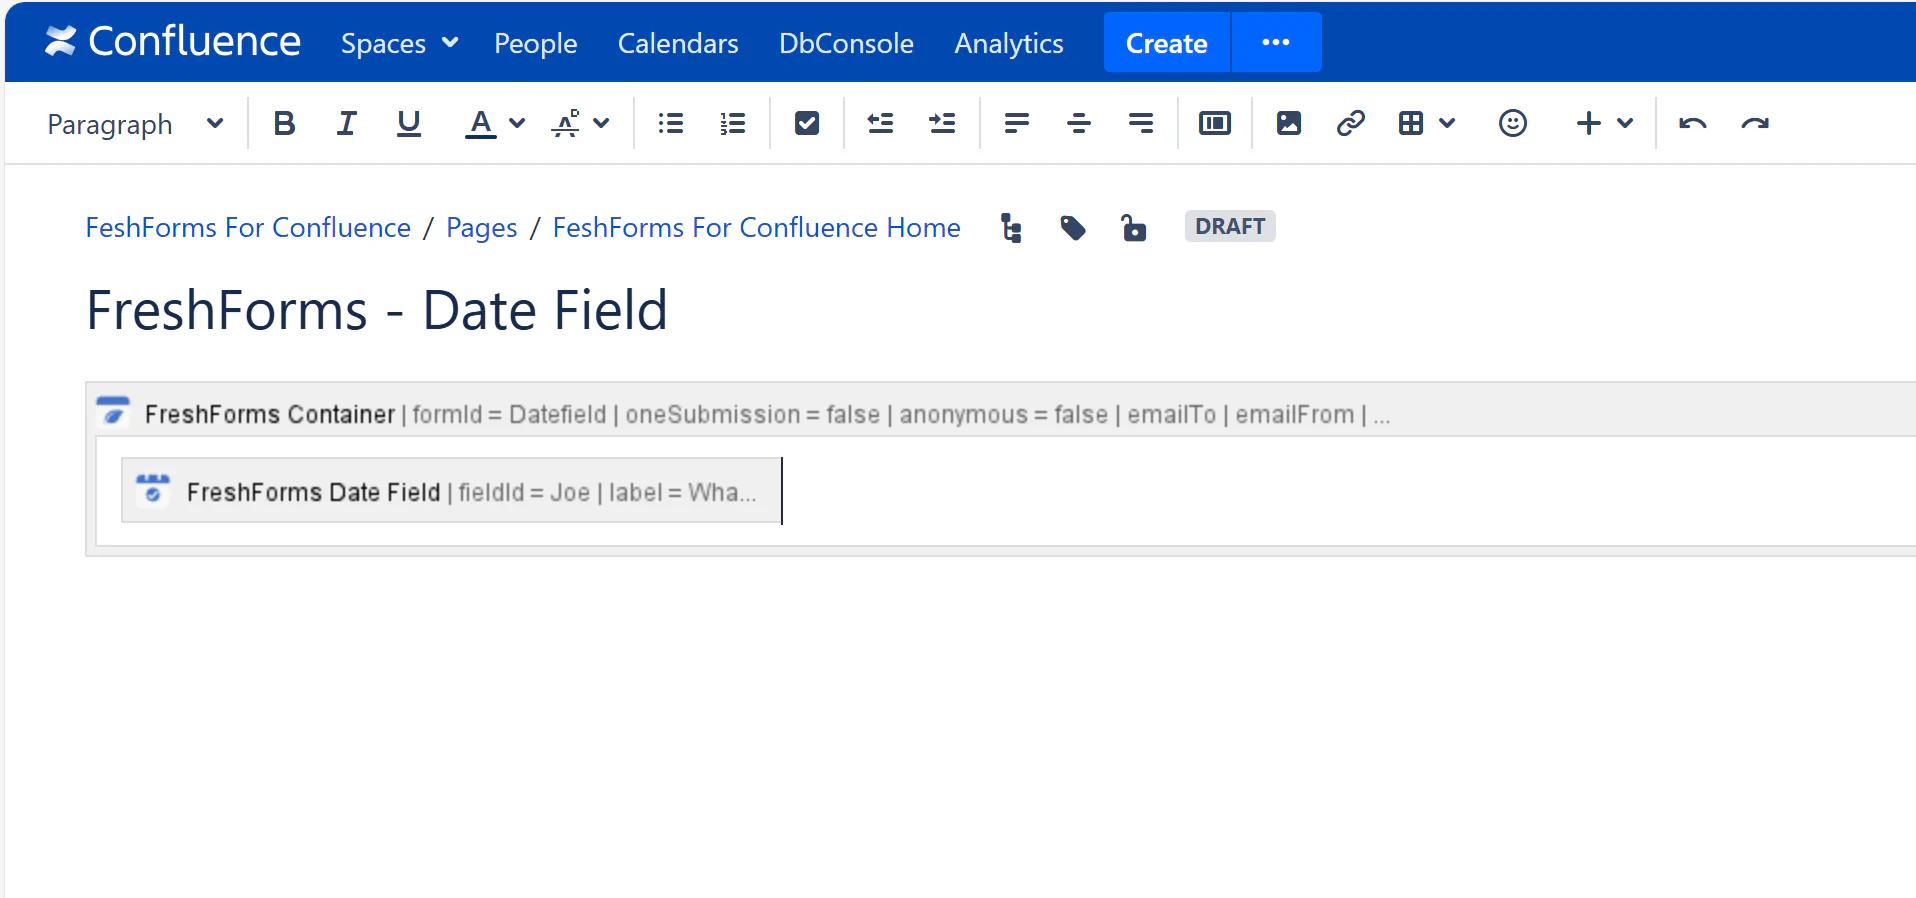
This will insert a FreshForms Date Field within the Container Macro.
Required. A unique, alphanumeric identifier for this field — no spaces or special characters. It should follow the same naming rules as the form container.
Example: requestDate, incidentDate, trainingDate
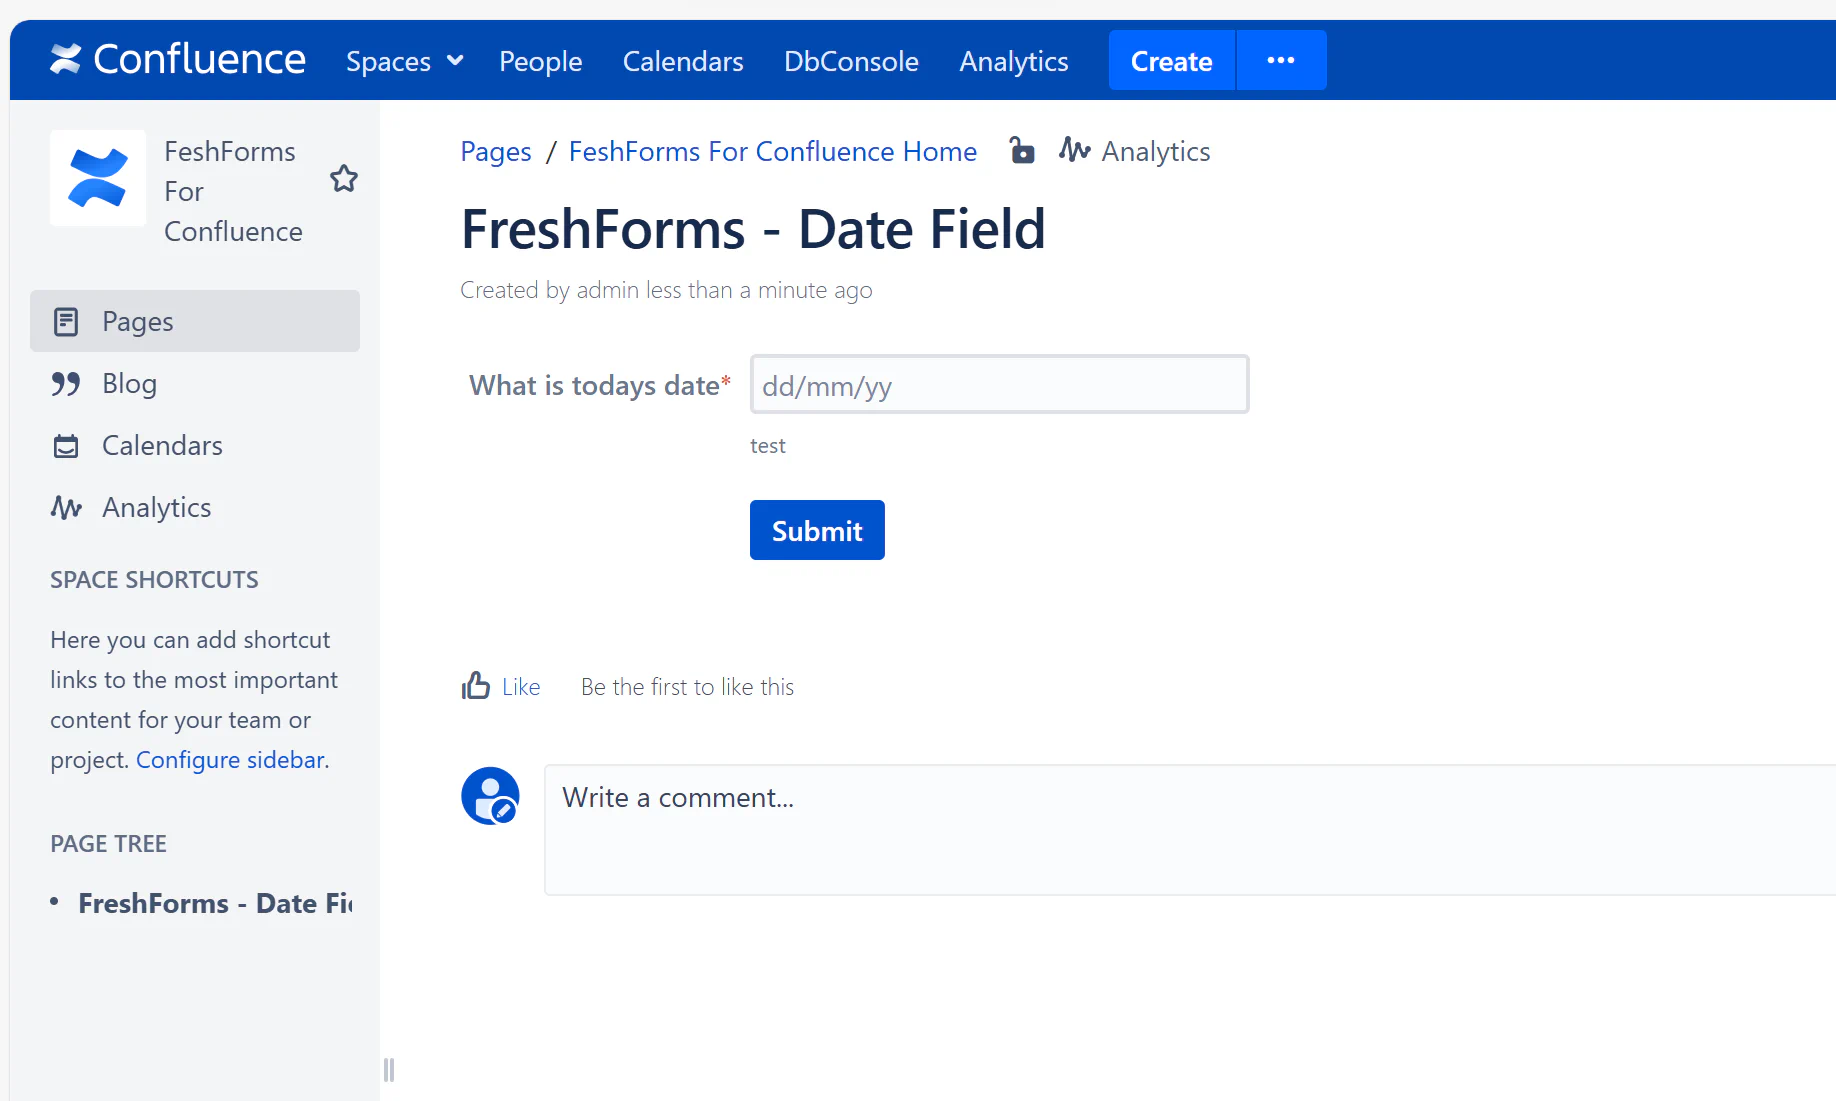
The prompt shown above the field to explain what the date represents. Keep it short, specific, and action-oriented.
Example: Select Date of Incident, Choose a Start Date
Optional helper text that appears beneath the field. Use this space to clarify what the user should select or any important formatting rules.
Example: “Use the calendar icon to select a date.” or “Do not select dates in the past.”
Enable this option to make the field mandatory. Users will not be able to submit the form without choosing a date.
Choose the format in which the date will be stored and displayed. This affects both the form input and the way results appear in your submissions table.
Available formats:
mm/dd/yy — 04/13/25dd/mm/yy — 13/04/25yy-mm-dd — 25-04-13dd-mm-yy — 13-04-25mm.dd.yy — 04.13.25yy/mm/dd — 25/04/13Pick a format that aligns with your region or internal reporting style.