Title here
Summary here
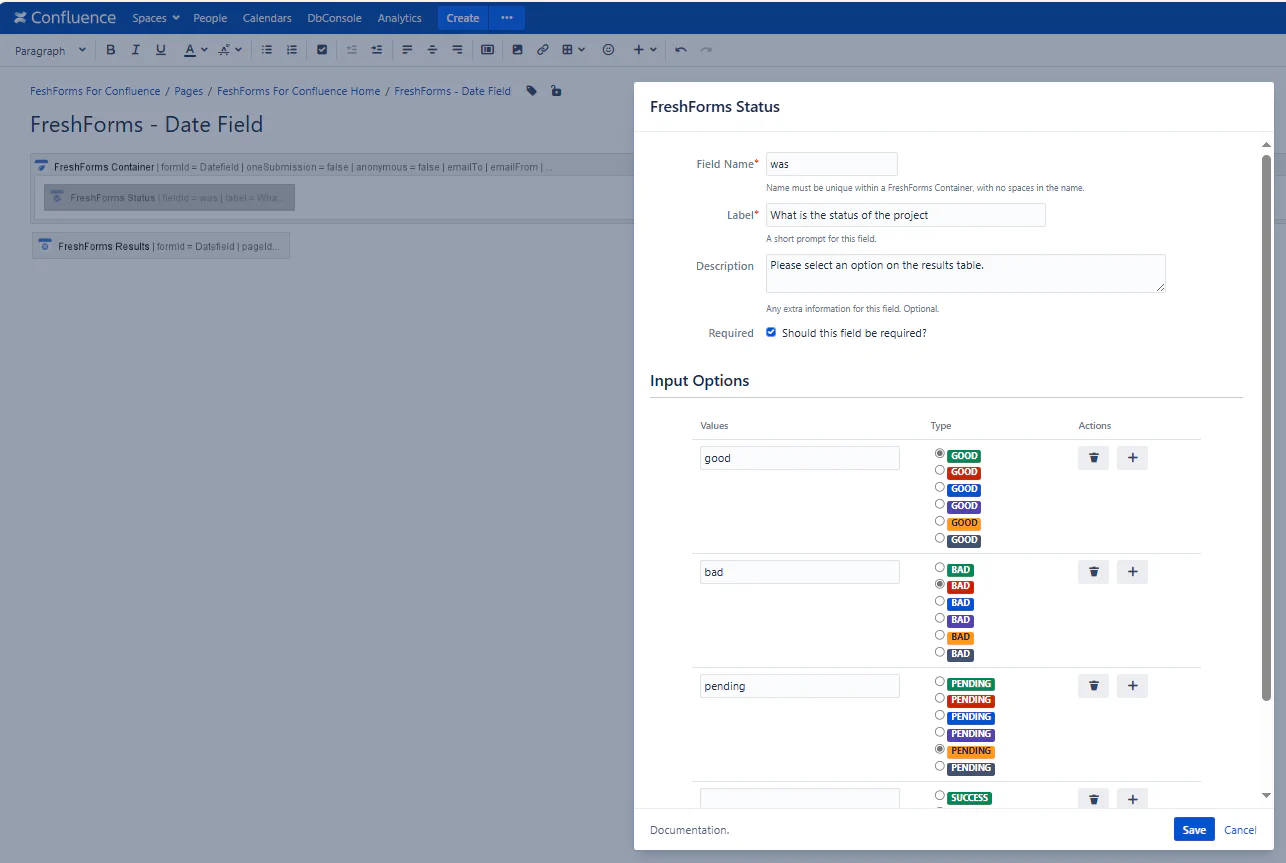
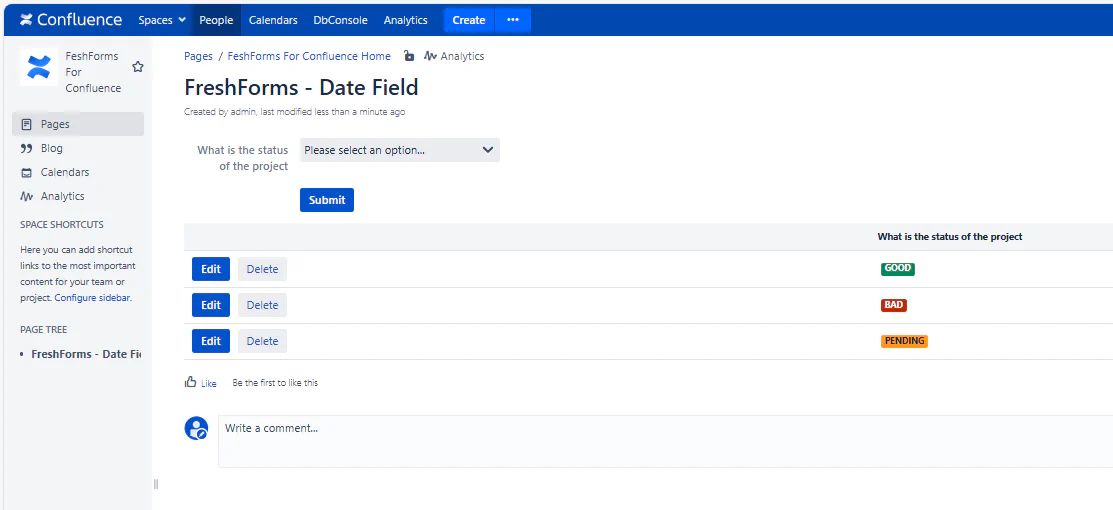
The Status Field lets you track form progress using clearly labeled color-coded badges. Ideal for workflows like approvals, issue tracking, or project phases. Each status shows as a tag with a label you define, plus a color you select.
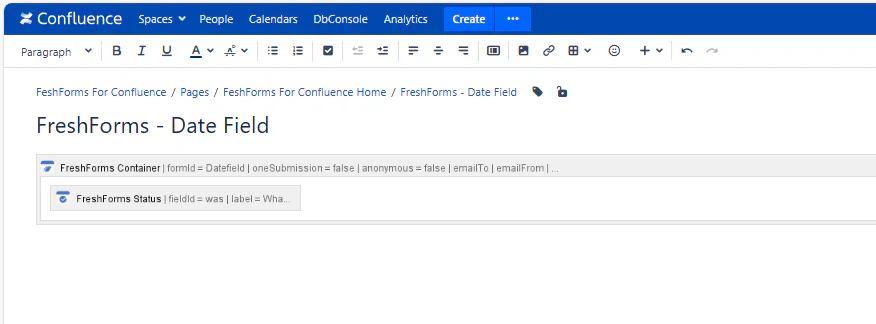
This will insert a FreshForms Status Field within the Container Macro.

Required. A unique, alphanumeric identifier — no spaces or special characters. This is used internally for sorting, filtering, and logic operations.
Example: approvalStatus, taskState, caseStatus
The prompt shown above the status field. Should clearly describe what the status represents.
Example: Approval Status, Current Phase, Case Progress
Optional text shown below the label. Use it to explain what each status option means or how it’s used.
Example: “Set the current status of this task. Use ‘Done’ only when fully complete.”
Check this box to make this a mandatory selection. Users must pick a status before submitting the form.
You add status labels one at a time. Each label appears as a badge with your selected color. You have full control over the text and color, so you can align the status with your process.
Note: The label you enter overrides the default text that appears on the badge — you can name it anything.